


When you create an Oracle Cloud VM Instance, it offers 4 way to connect to the instance, download Private Key, Upload your own Private Key, Paste your key and no private key. Generally, we use all the method except no Private Key.
If we choose to connect to the instance with PuTTY, there lies a problem. Oracle Cloud configure system provides the Private Key with the format .key, However, the Putty needs .ppk file. They are not compatible. If we are planning to use a private key file generated during the instance creation process we need to convert the file to a .ppk file before we can use it with PuTTY to connect to the instance.
So, the key issue is to convert the .key format Private Key file into .ppk format.
Convert .key Private Key file
We need a tool named PuTTYgen, it should be installed as a plugin when you installing PuTTY. If you can’t find it like me, then you can download it here. (32bit PuTTYgen / 64bit PuTTYgen) Please download the same version with your PuTTY.
Once you downloaded it or you find your PuTTYgen, just click it to open PuTTYgen. You should see it as shown below.
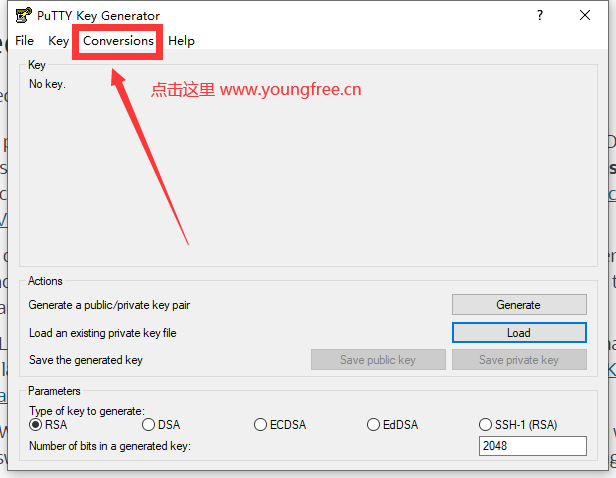
Click Conversions >> Import key button, as below indicates.
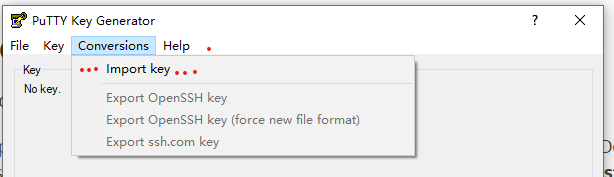
Then select the private key generated when you created the instance. The extension for the key file is .key.

If you are sure the .key file is the correct Private Key, then click the Open button. PuTTYgen will parse the file as below shows. You need to do nothing but click Save private key.


Specify a name for the key. The extension for new private key is .ppk.
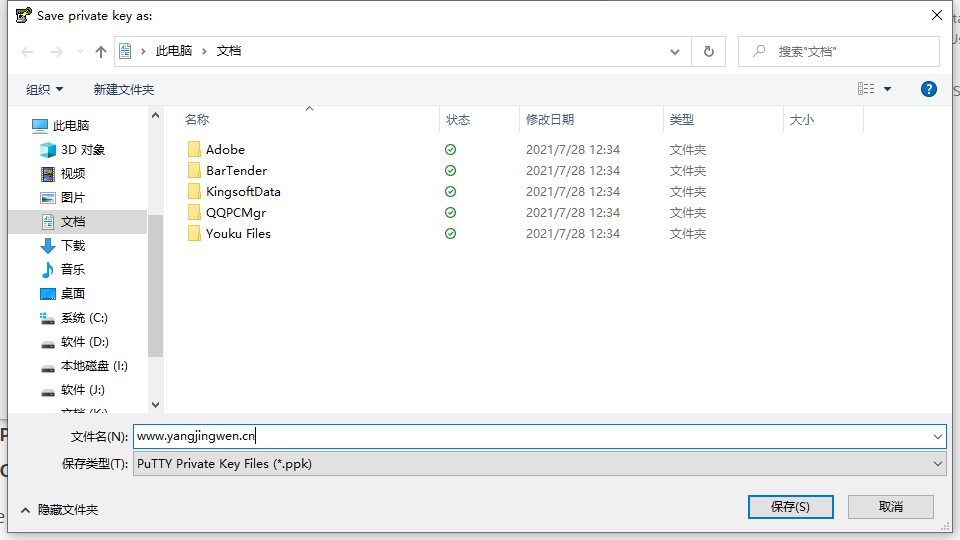
Rename it to a easy to remember name, then click Save.
Connect to the Instance with Private Key
If the instance uses a key pair that you created using PuTTY Key Generator, use the following procedure.
Open PuTTY.
In the Category pane, select Session and enter the following:
Host Name (or IP address): Your instance public IP address that you retrieved from the Console
Port: 22
Connection type: SSH
Saved Sessions: Name a memorable name so that you can distinguish it from others.

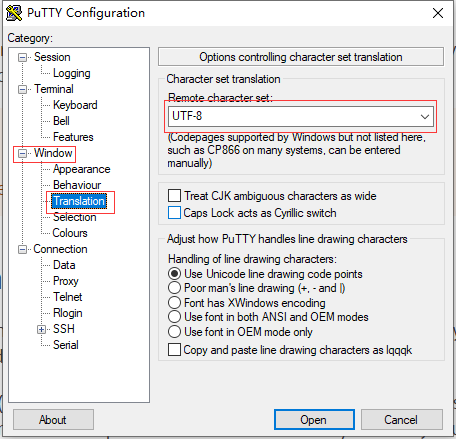
In the Category pane, expand Window, and then select Translation. In the Remote character set drop-down list, select UTF-8. The default locale setting on Linux-based instances is UTF-8, and this configures PuTTY to use the same locale.
In the Category pane, expand Connection, expand SSH, and then click Auth.

Click Browse, and then select your .ppk private key file. Click Open to start the session.
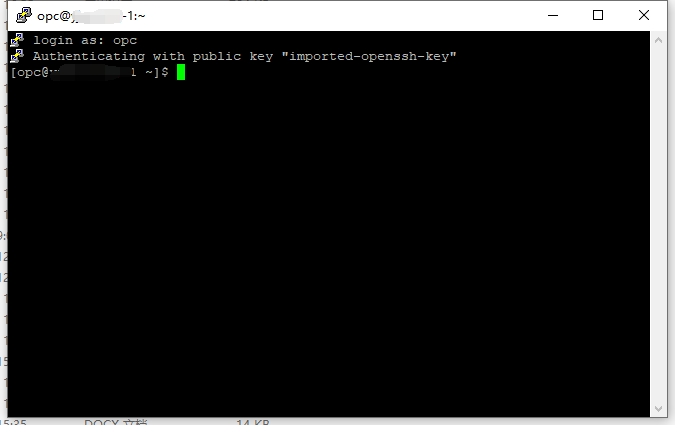
If this is your first time connecting to the instance, you might see a message that the server’s host key is not cached in the registry. Click Yes to continue the connection. If you were asked the login name, it is opc as default.
If you have another issue with these steps, please leave a message and let’s work it out together.


Thank you. This was very helpful